Flutter, Google’s UI toolkit for building natively compiled applications for mobile, web, and desktop from a single codebase, provides a rich set of tools and widgets for navigation. Navigating between screens is a crucial aspect of building any mobile app, and Flutter offers various navigation patterns to cater to different use cases. In this comprehensive guide, we will explore and master the various navigation patterns in Flutter, along with practical examples.
Introduction to Navigation in Flutter
Navigation is the process of moving between different screens or pages within a Flutter app. In Flutter, the Navigator
class is responsible for managing a stack of routes and handling the
transitions between them. Understanding the basic concepts of navigation
is essential before diving into more advanced patterns.
Basic Navigation with Navigator
Pushing a New Screen
// Navigate to a new screen
Navigator.push(
  context,
  MaterialPageRoute(builder: (context) => SecondScreen()),
);
Popping Screens
// Pop the current screen
Navigator.pop(context);
Named Routes for Clarity
Using named routes helps make your codebase more readable and maintainable.
// Define named routes in MaterialApp
routes: {
  '/second': (context) => SecondScreen(),
  '/third': (context) => ThirdScreen(),
}

// Navigate using named routes
Navigator.pushNamed(context, '/second');
Passing Data Between Screens
// Pass data to a new screen
Navigator.push(
  context,
  MaterialPageRoute(
    builder: (context) => SecondScreen(data: 'Hello from the first screen!'),
  ),
);
Modal Bottom Sheets
// Show a modal bottom sheet
showModalBottomSheet(
context: context,
builder: (context) => Container(
child: // Your bottom sheet content
),
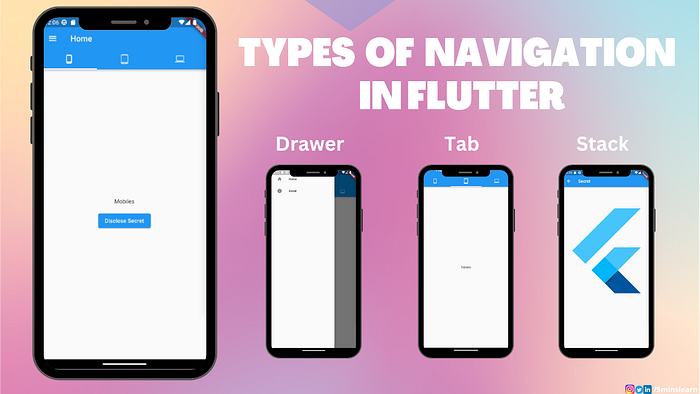
);Tab Navigation
// Implementing tab navigation
return DefaultTabController(
  length: 3,
  child: Scaffold(
    appBar: AppBar(
      title: Text('Tab Navigation'),
      bottom: TabBar(
        tabs: [
          Tab(icon: Icon(Icons.home)),
          Tab(icon: Icon(Icons.search)),
          Tab(icon: Icon(Icons.settings)),
        ],
      ),
    ),
    body: TabBarView(
      children: [
        HomeTab(),
        SearchTab(),
        SettingsTab(),
      ],
    ),
  ),
);
Drawer Navigation
// Implementing drawer navigation
return Scaffold(
  appBar: AppBar(title: Text('Drawer Navigation')),
  drawer: Drawer(
    child: ListView(
      children: [
        ListTile(
          title: Text('Home'),
          onTap: () {
            // Navigate to the home screen
            Navigator.pushReplacementNamed(context, '/');
          },
        ),
        ListTile(
          title: Text('Settings'),
          onTap: () {
            // Navigate to the settings screen
            Navigator.pushNamed(context, '/settings');
          },
        ),
      ],
    ),
  ),
  body: // Your main content
);
PageView for Swipeable Screens
// Implementing PageView for swipeable screens
return PageView(
  children: [
    FirstScreen(),
    SecondScreen(),
    ThirdScreen(),
  ],
);
Hero Animations for Seamless Transitions
// Implementing Hero animations
Hero(
  tag: 'hero-tag',
  child: // Your widget to transition,
);
Deep Linking in Flutter
// Handling deep links
void _handleDeepLink() {
  // Extract deep link data
  final Uri deepLink = Uri.parse('yourapp://details?id=123');

  // Implement navigation logic based on the deep link
  // ...
}
Advanced Navigation with
Navigator 2.0
Flutter’s Navigator 2.0 introduces a more flexible and powerful way to handle navigation.
// Using Navigator 2.0
final _router = MyRouter();

Router(
  routerDelegate: _router.routerDelegate,
  routeInformationParser: _router.routeInformationParser,
)
Mastering navigation patterns in Flutter is crucial for building seamless and user-friendly applications. Whether you’re implementing basic navigation, complex gestures, or deep linking, Flutter provides a wide array of tools to meet your app’s requirements. By combining these navigation patterns, you can create a fluid and intuitive user experience in your Flutter applications.
Reference:
https://medium.com/@flutterdynasty/mastering-navigation-patterns-in-flutter-a-comprehensive-guide-9afff804a73d
0 comments:
Post a Comment