Here’s the hard truth: Every time you send an APK, you’re:
- Asking busy recruiters to break their workflow
- Expecting clients to trust unknown software
- Adding friction to your portfolio review
- Looking less professional than competitors with instant demos
But what if there was a way to turn your Flutter app into a professional, instantly accessible web preview that works right in their browser? 🤔
Let me show you how Device Preview and GitHub Pages can transform your app demos from “Sorry, can’t install that” to “Wow, this looks impressive!”
The Solution:
Let’s transform your Flutter app into a professional web demo in 3 simple steps:
Step 1: Add Device Preview and Configure🚀
- Add Device preview Package to your pubspec.yaml
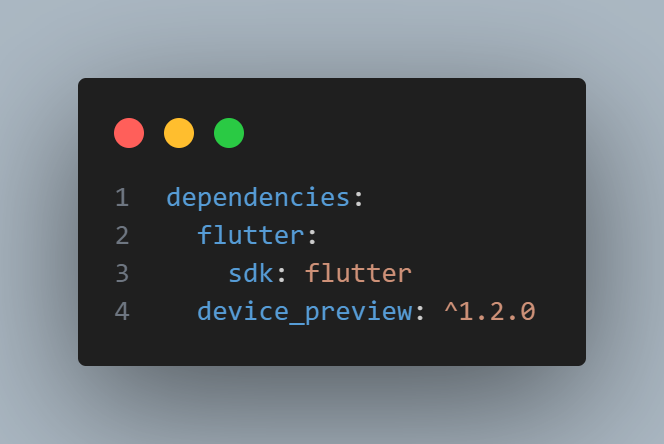
Pro-Tip: This gives your app superpowers like:
- Live device switching (iPhone, Pixel, tablets)
- Orientation flipping
- Dark/Light mode toggle
- Different screen sizes preview
2. Main Configuration — The Control Center 🎯
This
is where we set the stage for your app’s presentation. Starting with
the iPhone 13 Pro Max gives your demo a premium feel, while the clean
white background keeps the focus on your app. Think of it as framing
your masterpiece in an art gallery!
3. Tools Configuration — Your Demo’s Swiss Army Knife 🔧
Less
is more! We’ve carefully selected only the essential tools. By hiding
complex options like orientation and keyboard, we’re creating a
distraction-free environment where your app’s features can shine. It’s
like giving a demo with just the right amount of controls — not
overwhelming, but powerful enough to impress.
4. Device List — The Device Zoo 📱
We’ve
curated this list like a fine wine selection! Each device represents a
different user segment, ensuring your app looks fantastic across the
spectrum. From budget-conscious users to premium seekers, you’re
covered. It’s like having a device lab in your browser!
5. Advanced Features — For The Extra Mile ⚡
Want to showcase your app on a specific device? This is your secret weapon! Creating custom devices allows you to tailor the preview experience exactly to your needs. It’s like having a custom-made display case for your app!
4. App Integration — Bringing It All Together 🔄
This
is where your app gets its preview superpowers! By integrating Device
Preview into your MaterialApp, you’re essentially giving your app the
ability to shape-shift between devices seamlessly. It’s like teaching
your app to speak multiple device languages fluently!
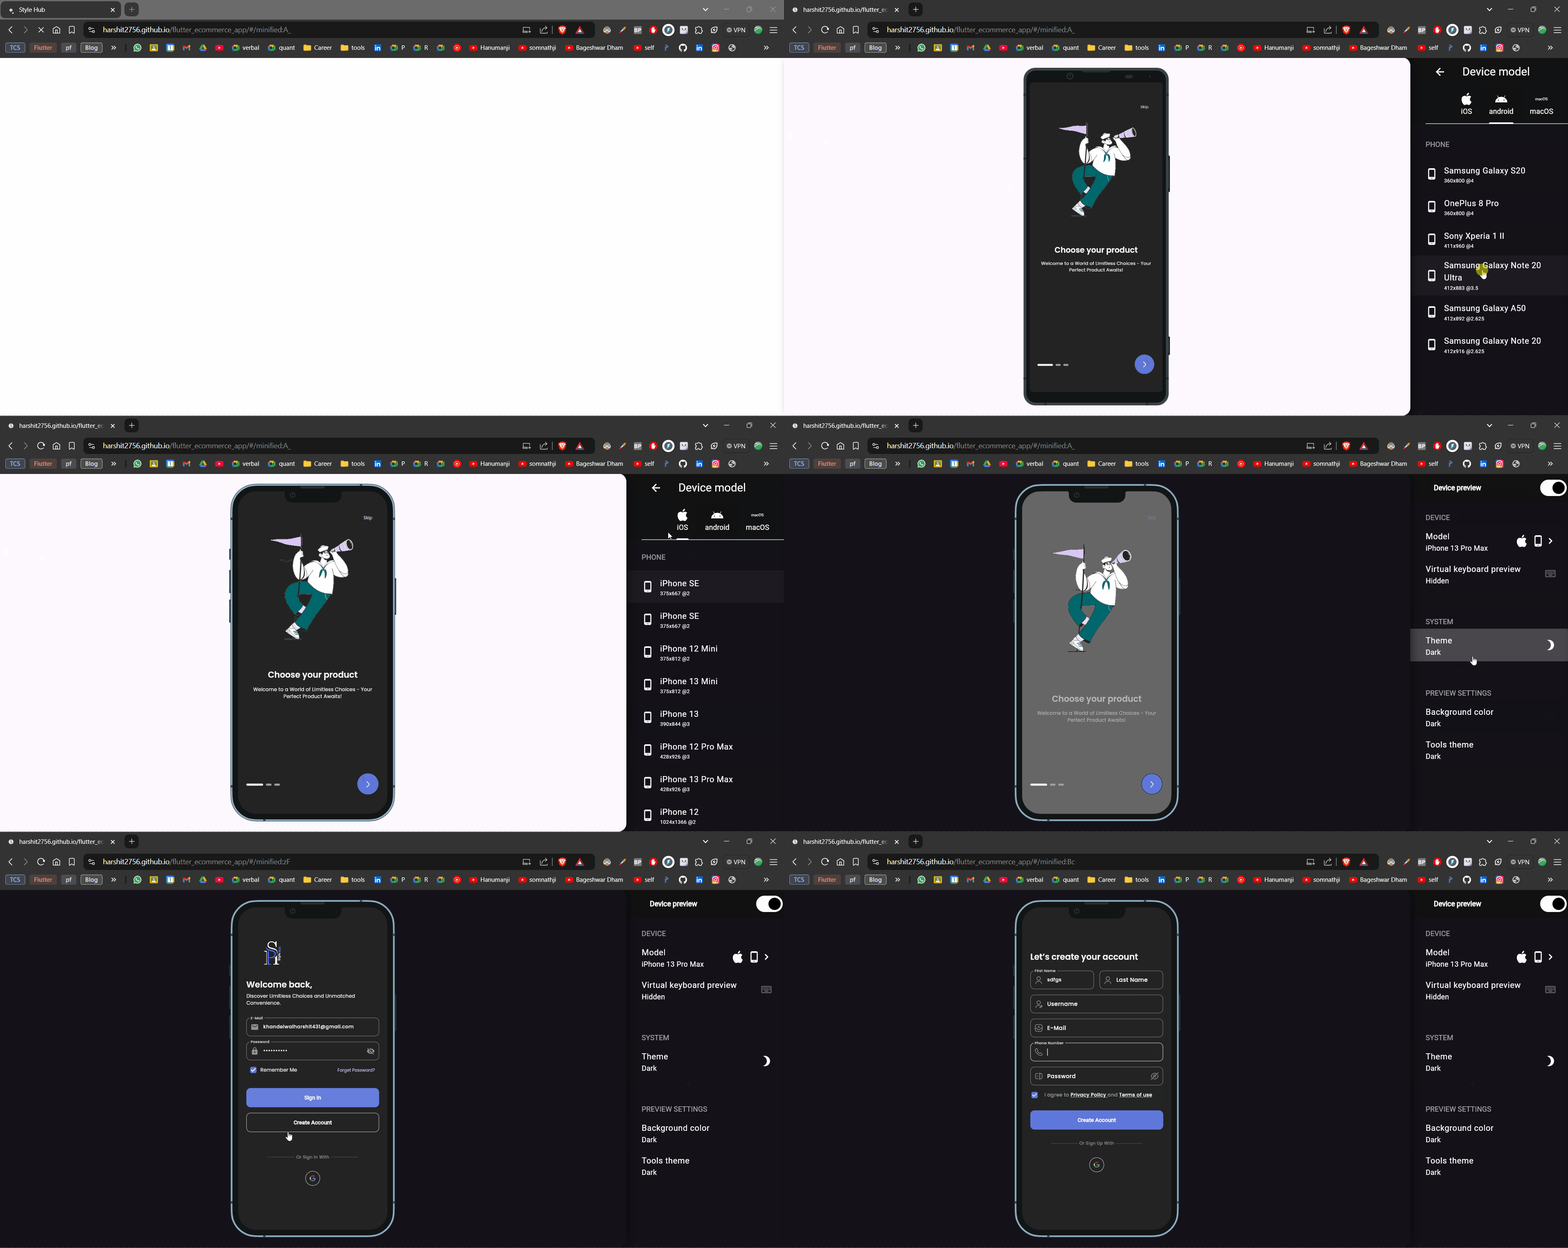
Step 3: Deploy On GitHub Pages 🚀
1. Build your web app:
Run this Command From your Root of the project
flutter build webAfter Running this command You will see Web folder in your build floder
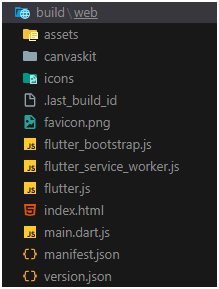
2. Set up docs folder:
now run the below commands to move all the content to docs folder
mkdir docs
xcopy /E /H /Y build\web\* docs\
3. Configure GitHub Pages:
Follow the steps shown below
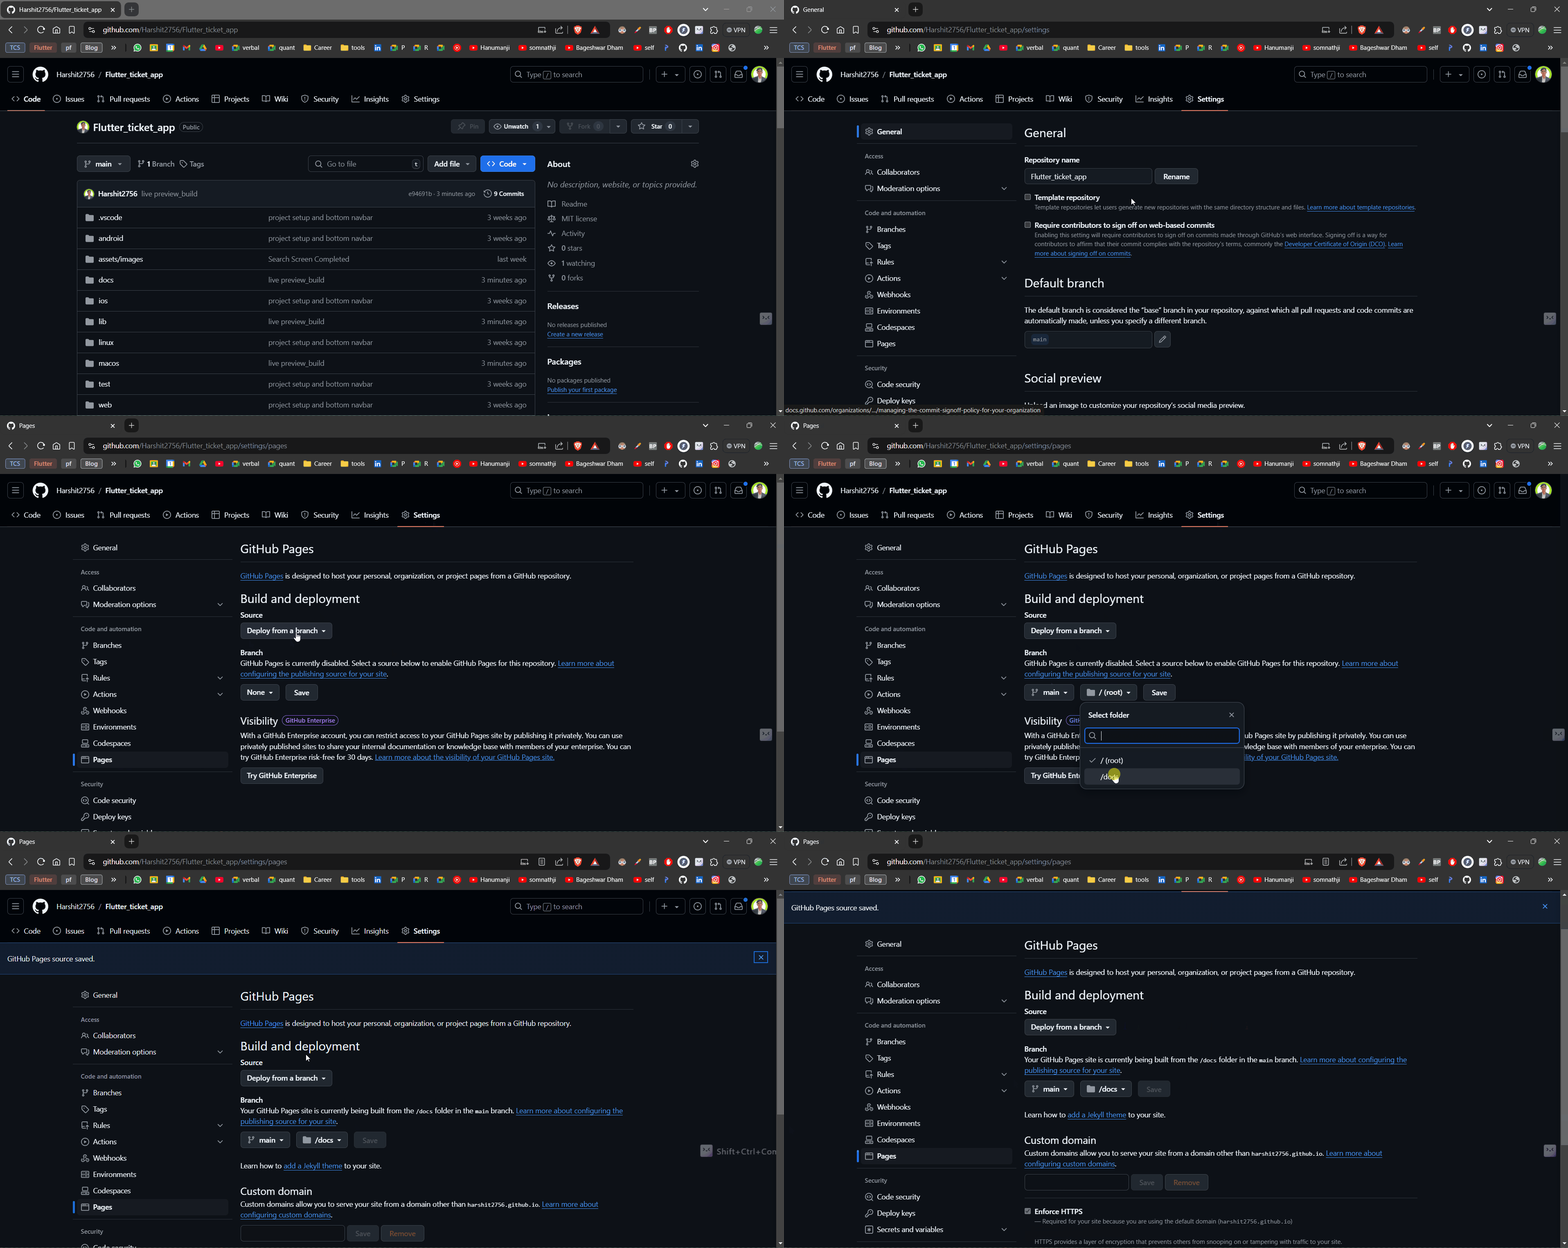
4.The Result: Professional Demo URL 🎯
Your app will be live at:
https://yourusername.github.io/your-repo-name/
Common Issues and Solutions 🔧
- Blank Page After Deployment:
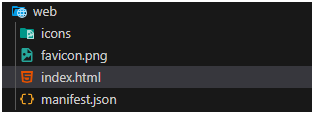
<!-- remove this from your web/index.html -->
<base href="$FLUTTER_BASE_HREF">
And make sure to clean and rebuild the project and then move the new build to docs folder by running below commads.
flutter clean
flutter build web
xcopy /E /H /Y build\web\* docs\
2. Assets Not Loading:
# Update in pubspec.yaml
assets:
  - assets/
3. Firebase features not working :
Make
sure you implement that feature for web also as the device preview just
emulates the device it’s not specifically running the selected OS.
Source:
https://medium.com/@khandelwalharshit431/skip-the-apk-how-to-deploy-flutter-mobile-apps-as-instant-web-preview-724ce3b1f502
0 comments:
Post a Comment